


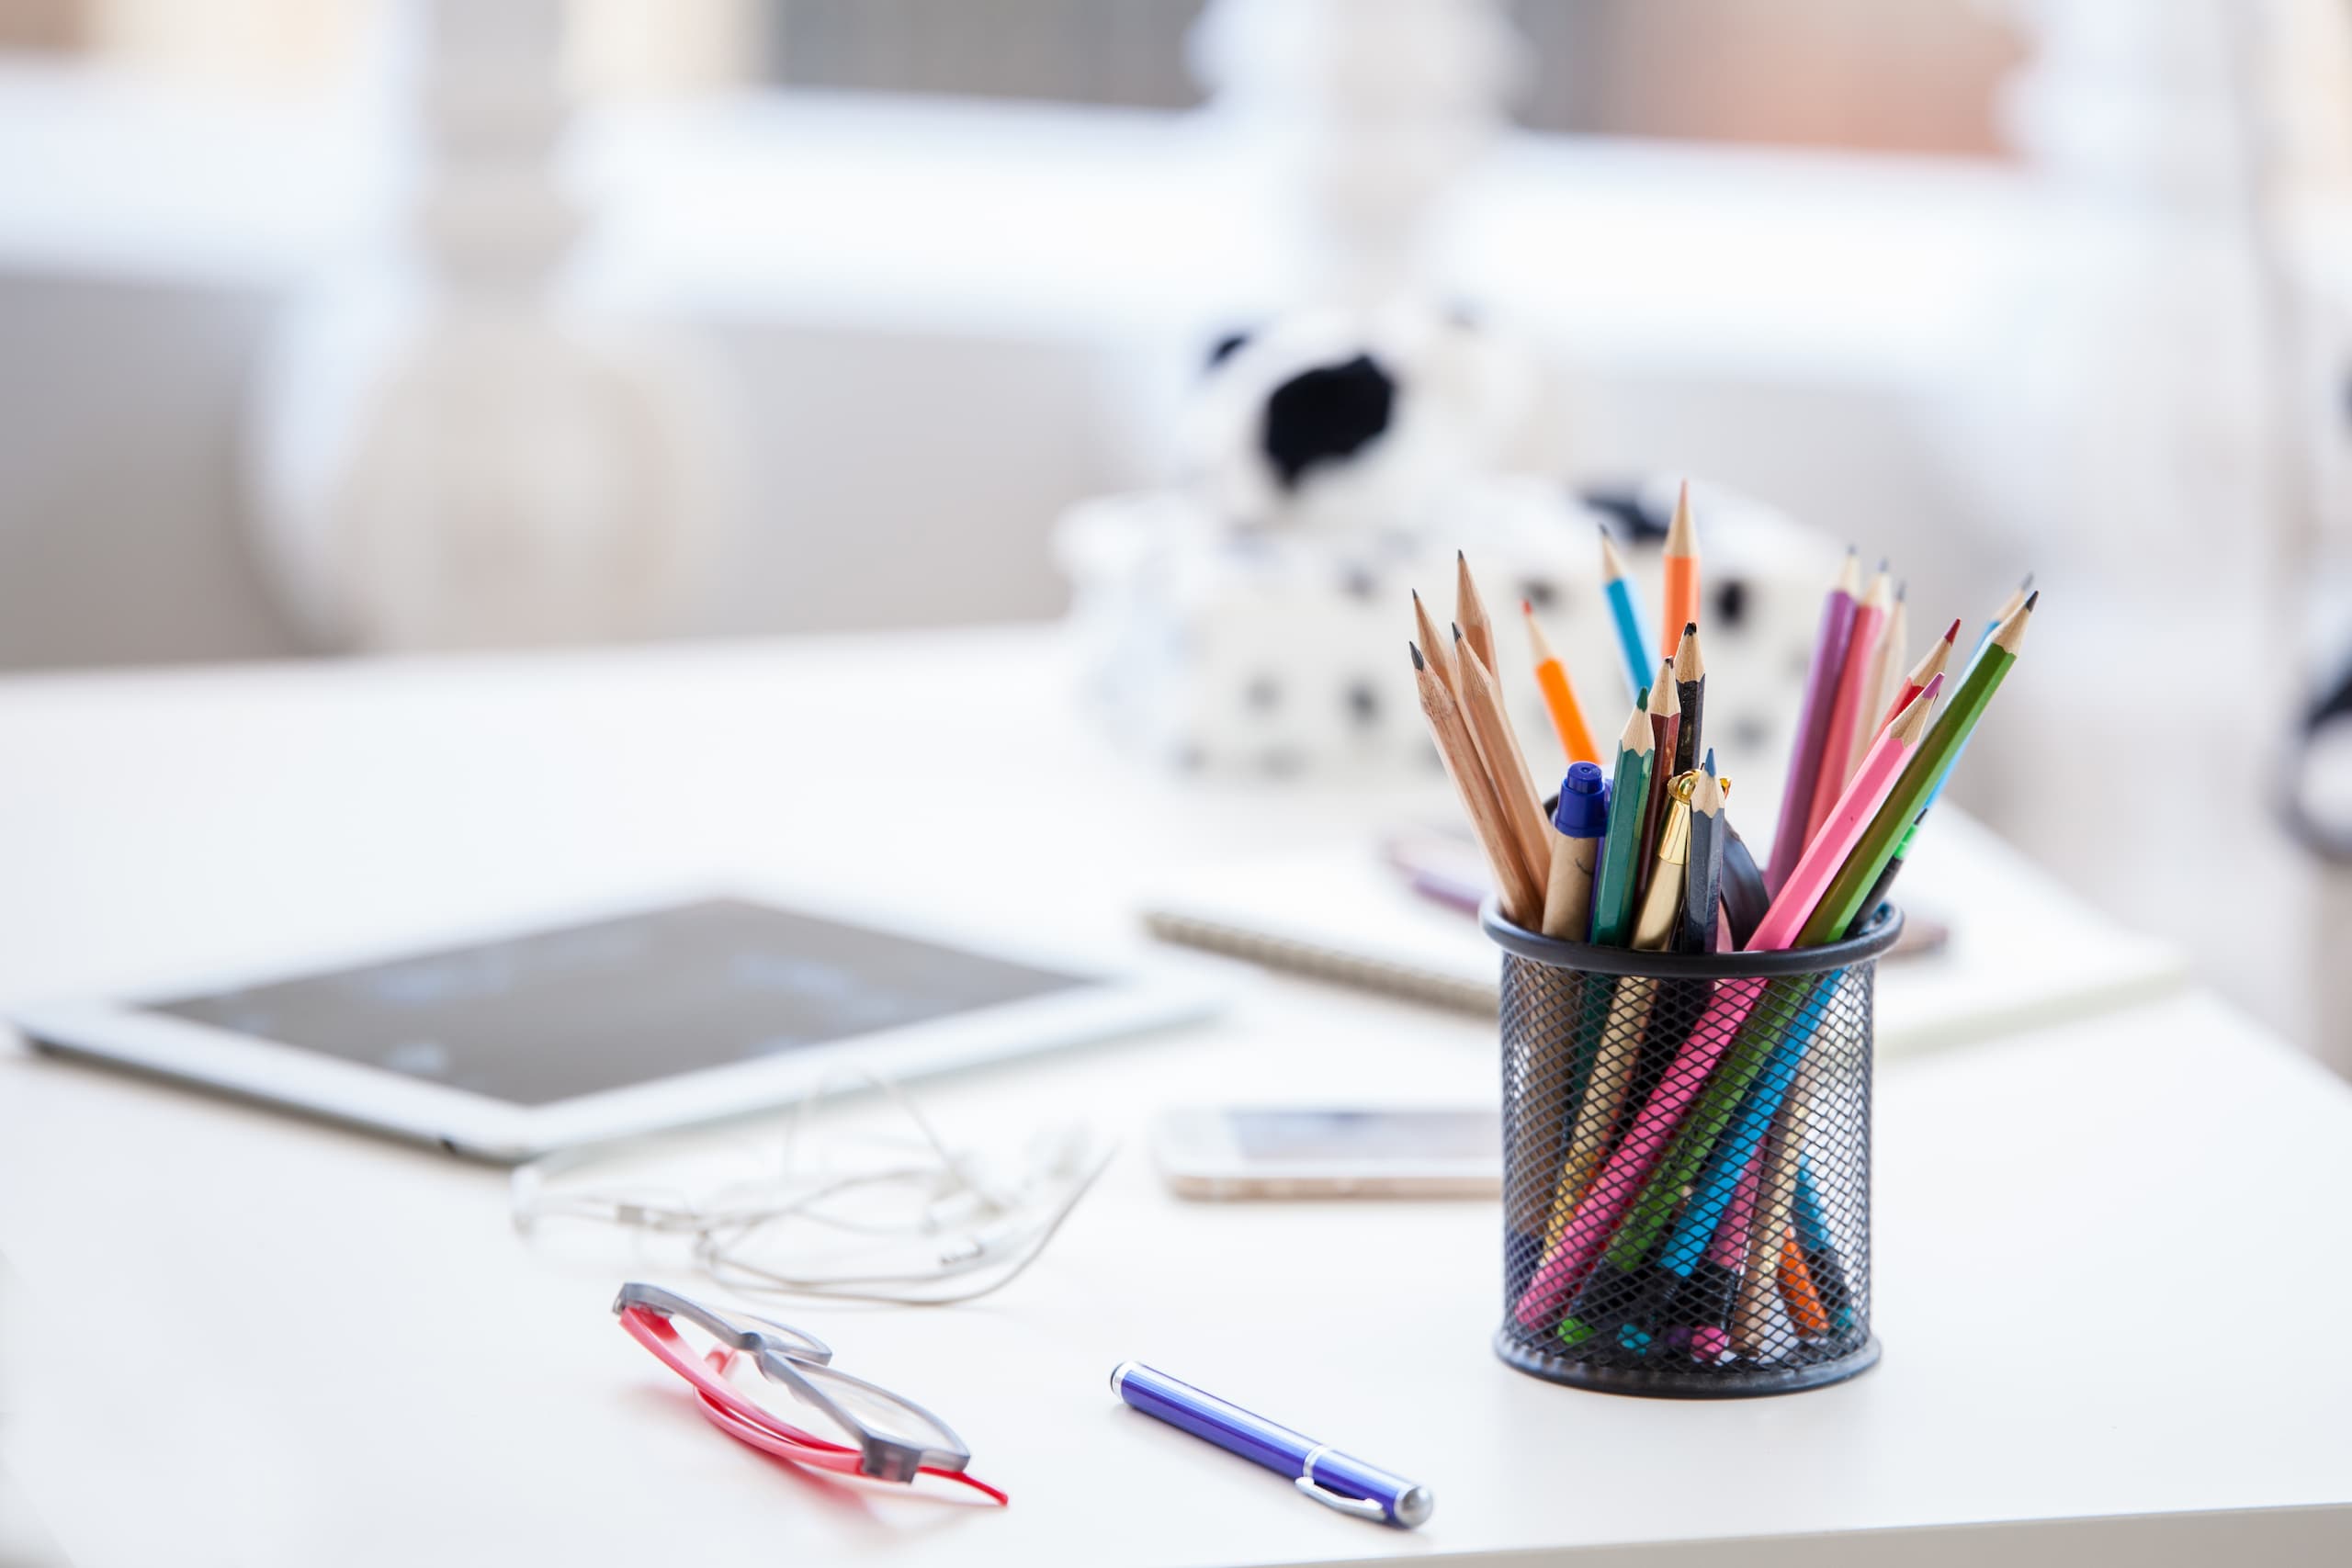
Organized, productive, efficient, ergonomic—all things a great office space should be. Whether you’re working from home or at the office, your workspace needs to accommodate all your work activities. This includes having an organized desk with plenty of space to work. The first step is to start by finding the best system to get organized. If you’re not quite sure how, why not consider a DIY desk organizer?
DIY projects are popular, inventive, and extremely useful. We have three easy DIY desk organizer projects you can do right at home with your kids, in your spare time, or even after work. You’ll be able to create a completely personalized desk organizer that suits all your needs and keeps your work surface in tip-top shape. Are you ready to DIY and get rid of desk clutter for good? Keep scrolling to check out our three creative and fun DIY desk organizer projects!
DIY Stackable Cereal Box Desk Organizer

Our first DIY desk organizer uses common items you’ll find in your pantry: cereal boxes! This creative DIY project uses two cereal boxes stacked one on top of the other to create a two-slot paper tray. The outside of the boxes will be decorated with wrapping paper of your choosing, so you can design this organizer exactly as you like. Go for wrapping paper with motifs, a colorful design or a simple, solid colour—the choice is entirely yours!
After you’ve created your unique cereal box organizer, you’ll be able to keep your papers, files, receipts and invoices neatly placed on your desk at all times. Find the perfect place for your organizer on your desk and let the organizing begin. Who knew cereal boxes could be so useful?
To make this cereal box organizer, you’ll need:
- 2 cereal boxes (each the same size)
- Scissors
- Double-sided tape
- Wrapping paper (you could also use spare wallpaper pieces or construction paper)
Instructions:
- On each cereal box, cut the tabs off the top.
- Lay the box down and place double-sided tape evenly on the box.
- Stack the other cereal box directly on top, aligning the openings of each box.
- Once they are taped together, measure the wrapping paper to fit it equally across the boxes.
- Cut the wrapping paper.
- Fold the pieces as if you were wrapping a gift, tightly covering the bottom and sides of the box but leaving the opening of the box uncovered.
- Add files, papers, reports and more to this DIY desk organizer! The organizer can be standing up or laying down.
You can always choose other ways to decorate your cereal boxes such as painting them, bedazzling them, or even creating fun washi tape patterns. And, if ever you want a bigger organizer, simply use more cereal boxes!
DIY Painted Multi-Box Desk Organizer
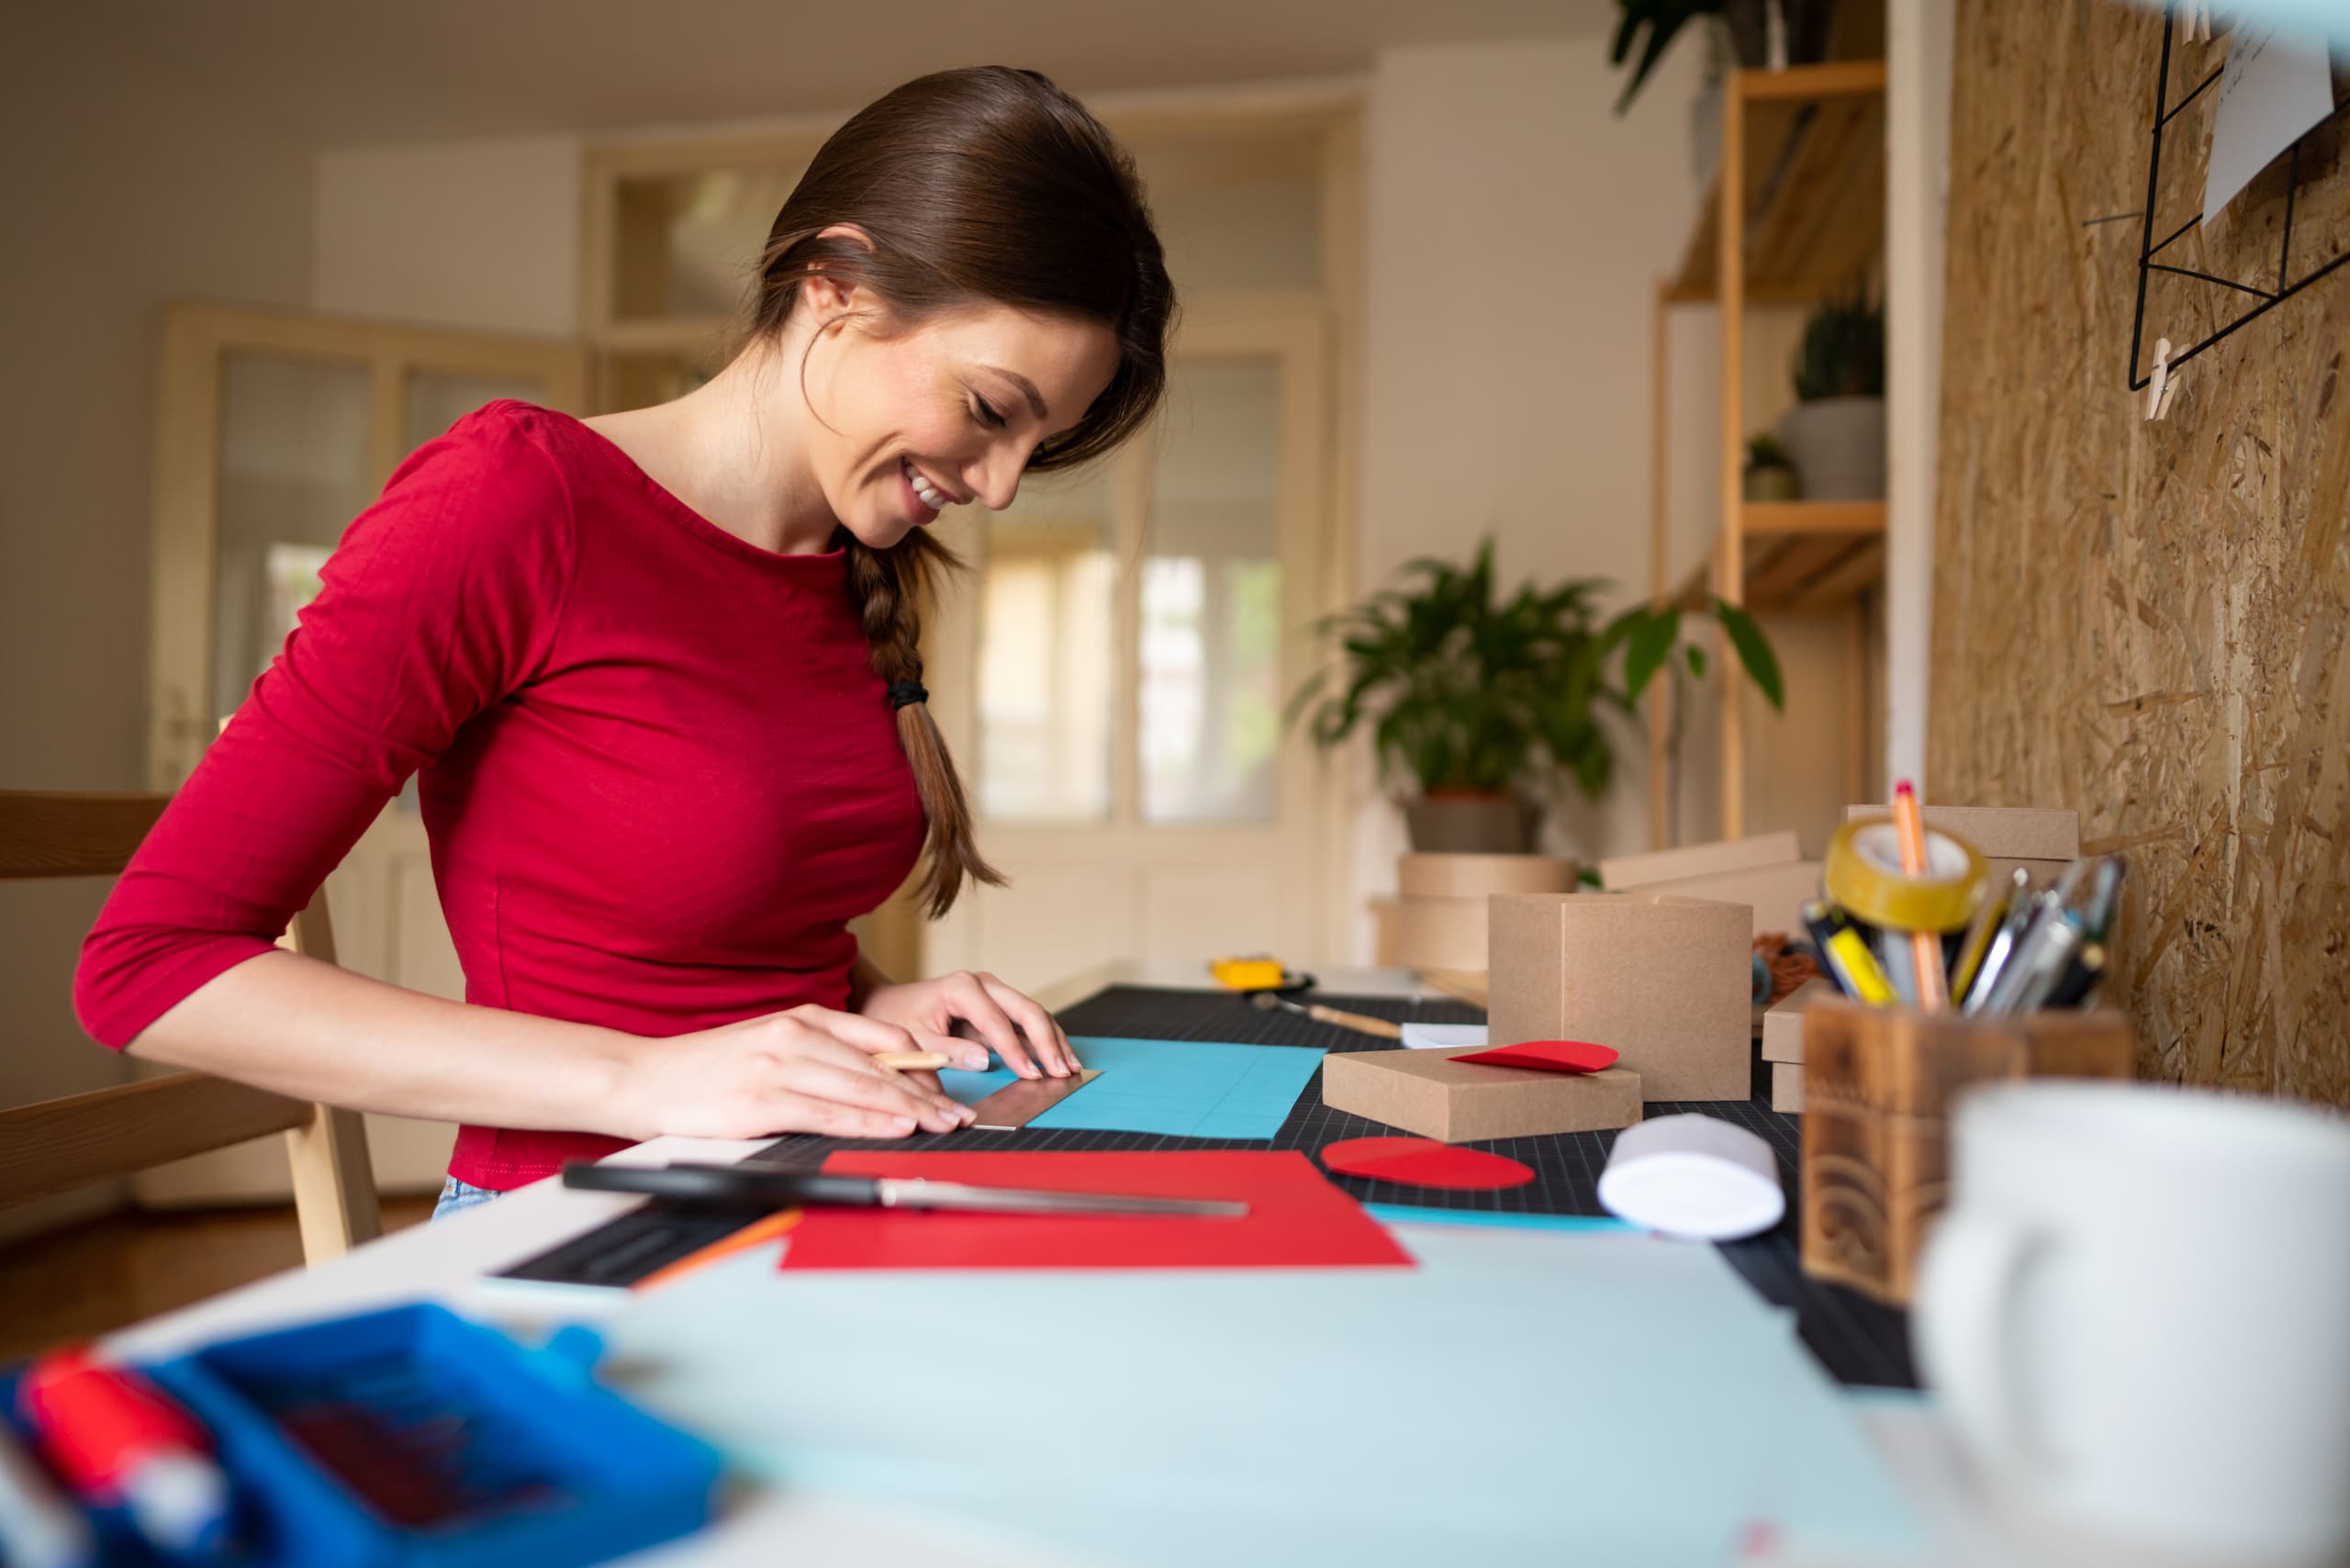
Using gift boxes is another inventive way to create an organizer for your desk. This unique DIY desk organizer uses three small gift boxes to create one large organizer. You can paint the boxes to create a one-of-a-kind design using painter’s tape. Once you’ve painted the boxes, all you need to do is glue the boxes side-by-side. That’s it! You’ll be able to keep the smallest desk accessories neatly on your desk, all within arm’s reach.
Materials:
- Three plain small gift boxes (all the same size).
- Acrylic paint
- Paint brushes (variety of sizes)
- Painter’s tape
- Hot glue gun
- Hot glue sticks
How to make this organizer:
- Remove the lids from the gift boxes.
- Use the painter’s tape to create a design on each box.
- Paint each box using the acrylic paint.
- Apply two or three coats of paint.
- When the paint is completely dry, remove the tape.
- Place the boxes beside one another.
- Hot glue one side of the middle box and push one box to the glued side.
- Hot glue the other side of the middle box and push the remaining box to the glued side. All should be now lined up and glued together.
- Fill each box with different items: one for notepads; one for rubber bands, and the other for your mid-day snacks!
DIY Mason Jar Desk Organizer
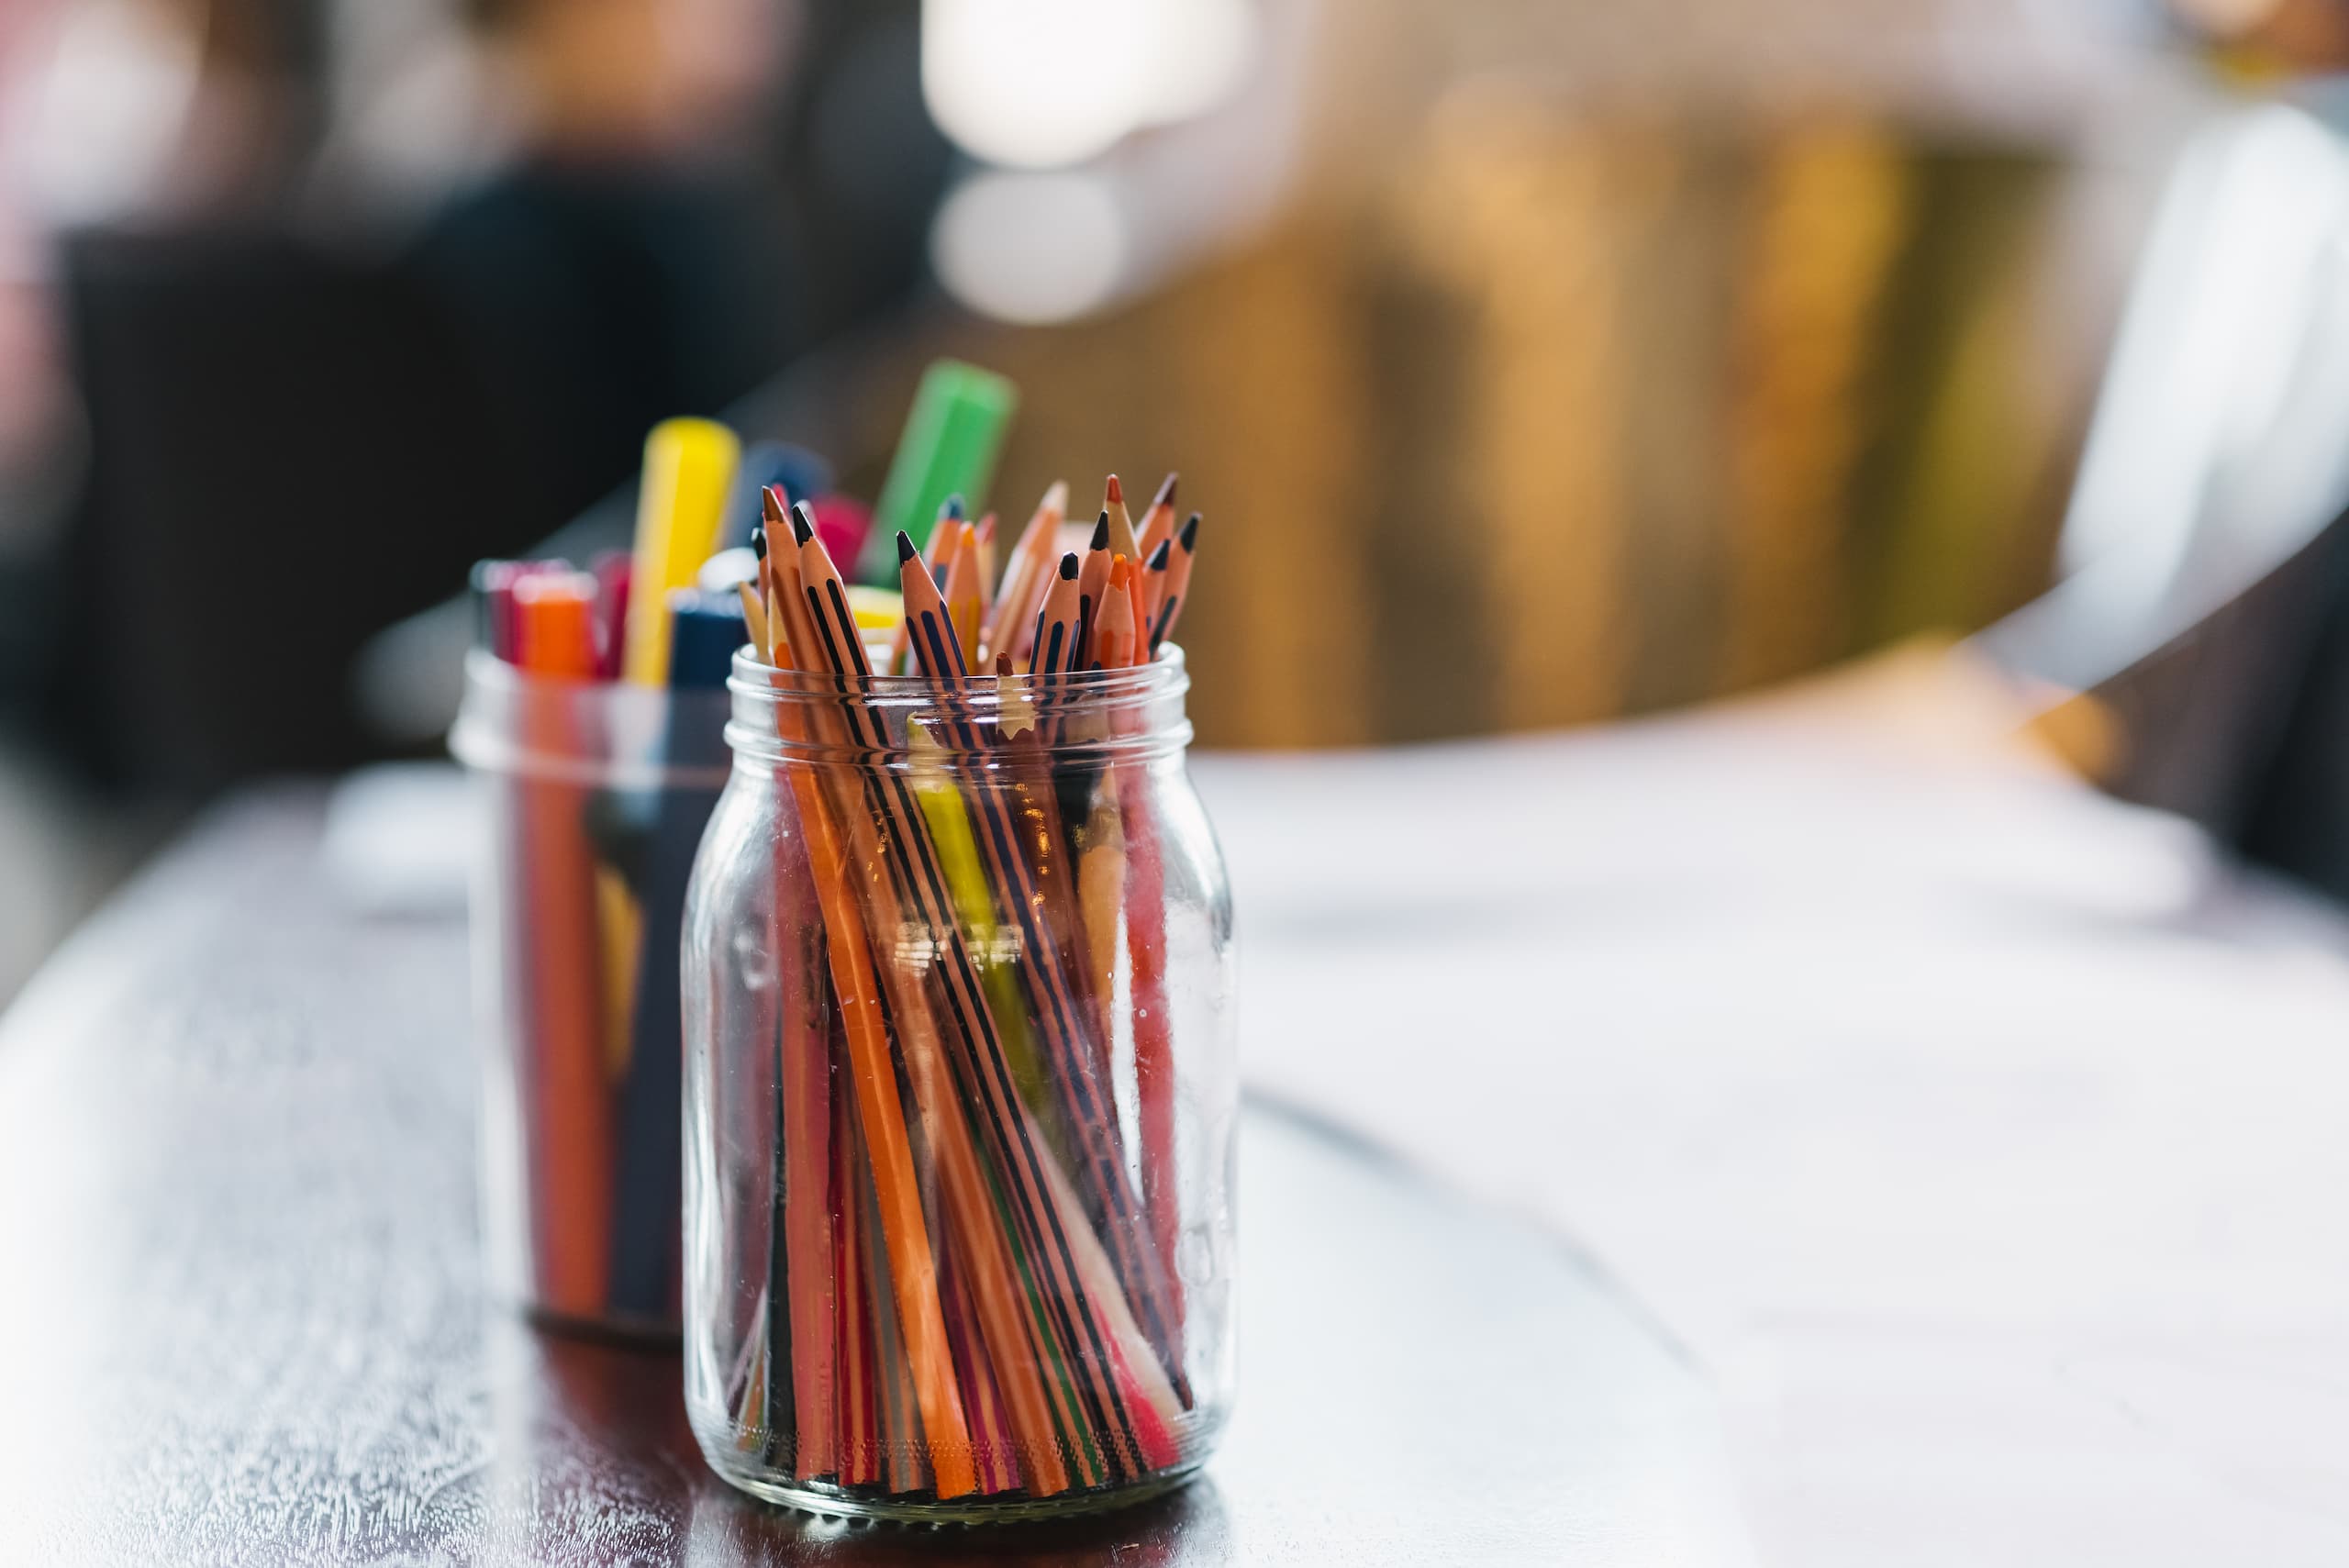
Mason jars have become extremely popular for DIY projects in recent years. Not only is it a trendy concept to keep your desk nice and tidy, it’s also a genius way to use simple items in your home. Reusing and repurposing at its finest!
Looking for space to store your pens, highlighters, and pencils in? No problem! These jars come in a variety of sizes (big and small), so it will be easy to design a versatile DIY desk organizer tailored to your specific needs. Whether you’re looking for a simple look or a creative, colorful design, you’ll be able to create the perfect DIY desk organizer with our mason jar craft project.
Here’s what you’ll need to create your DIY desk organizer:
- 3 Mason jars (any brand)
- Chalk paint
- Rubbing alcohol
- Paper towel
- Large paint brush
- Small paint brush for detail work (optional)
Instructions:
- Clean the jars with rubbing alcohol and a paper towel. Be sure to dry well.
- Using the large paint brush, paint the mason jars.
- Repeat Step 2 with each mason jar (be sure to clean the brush if you are changing colors).
- Once dry, apply a second coat (you may need three coats depending on the colours chosen).
- Allow to dry completely.
- Using the small brush, add decorative details or designs (optional).
- Place on the desk exactly how you like! Add pens, highlighters, scissors and more to these jars.
If you’d rather have your mason jars on a stand instead of sitting loosely on your desk, you could always glue them to a Lazy Susan or rotating tray that will keep them in one place but also provide easy access.
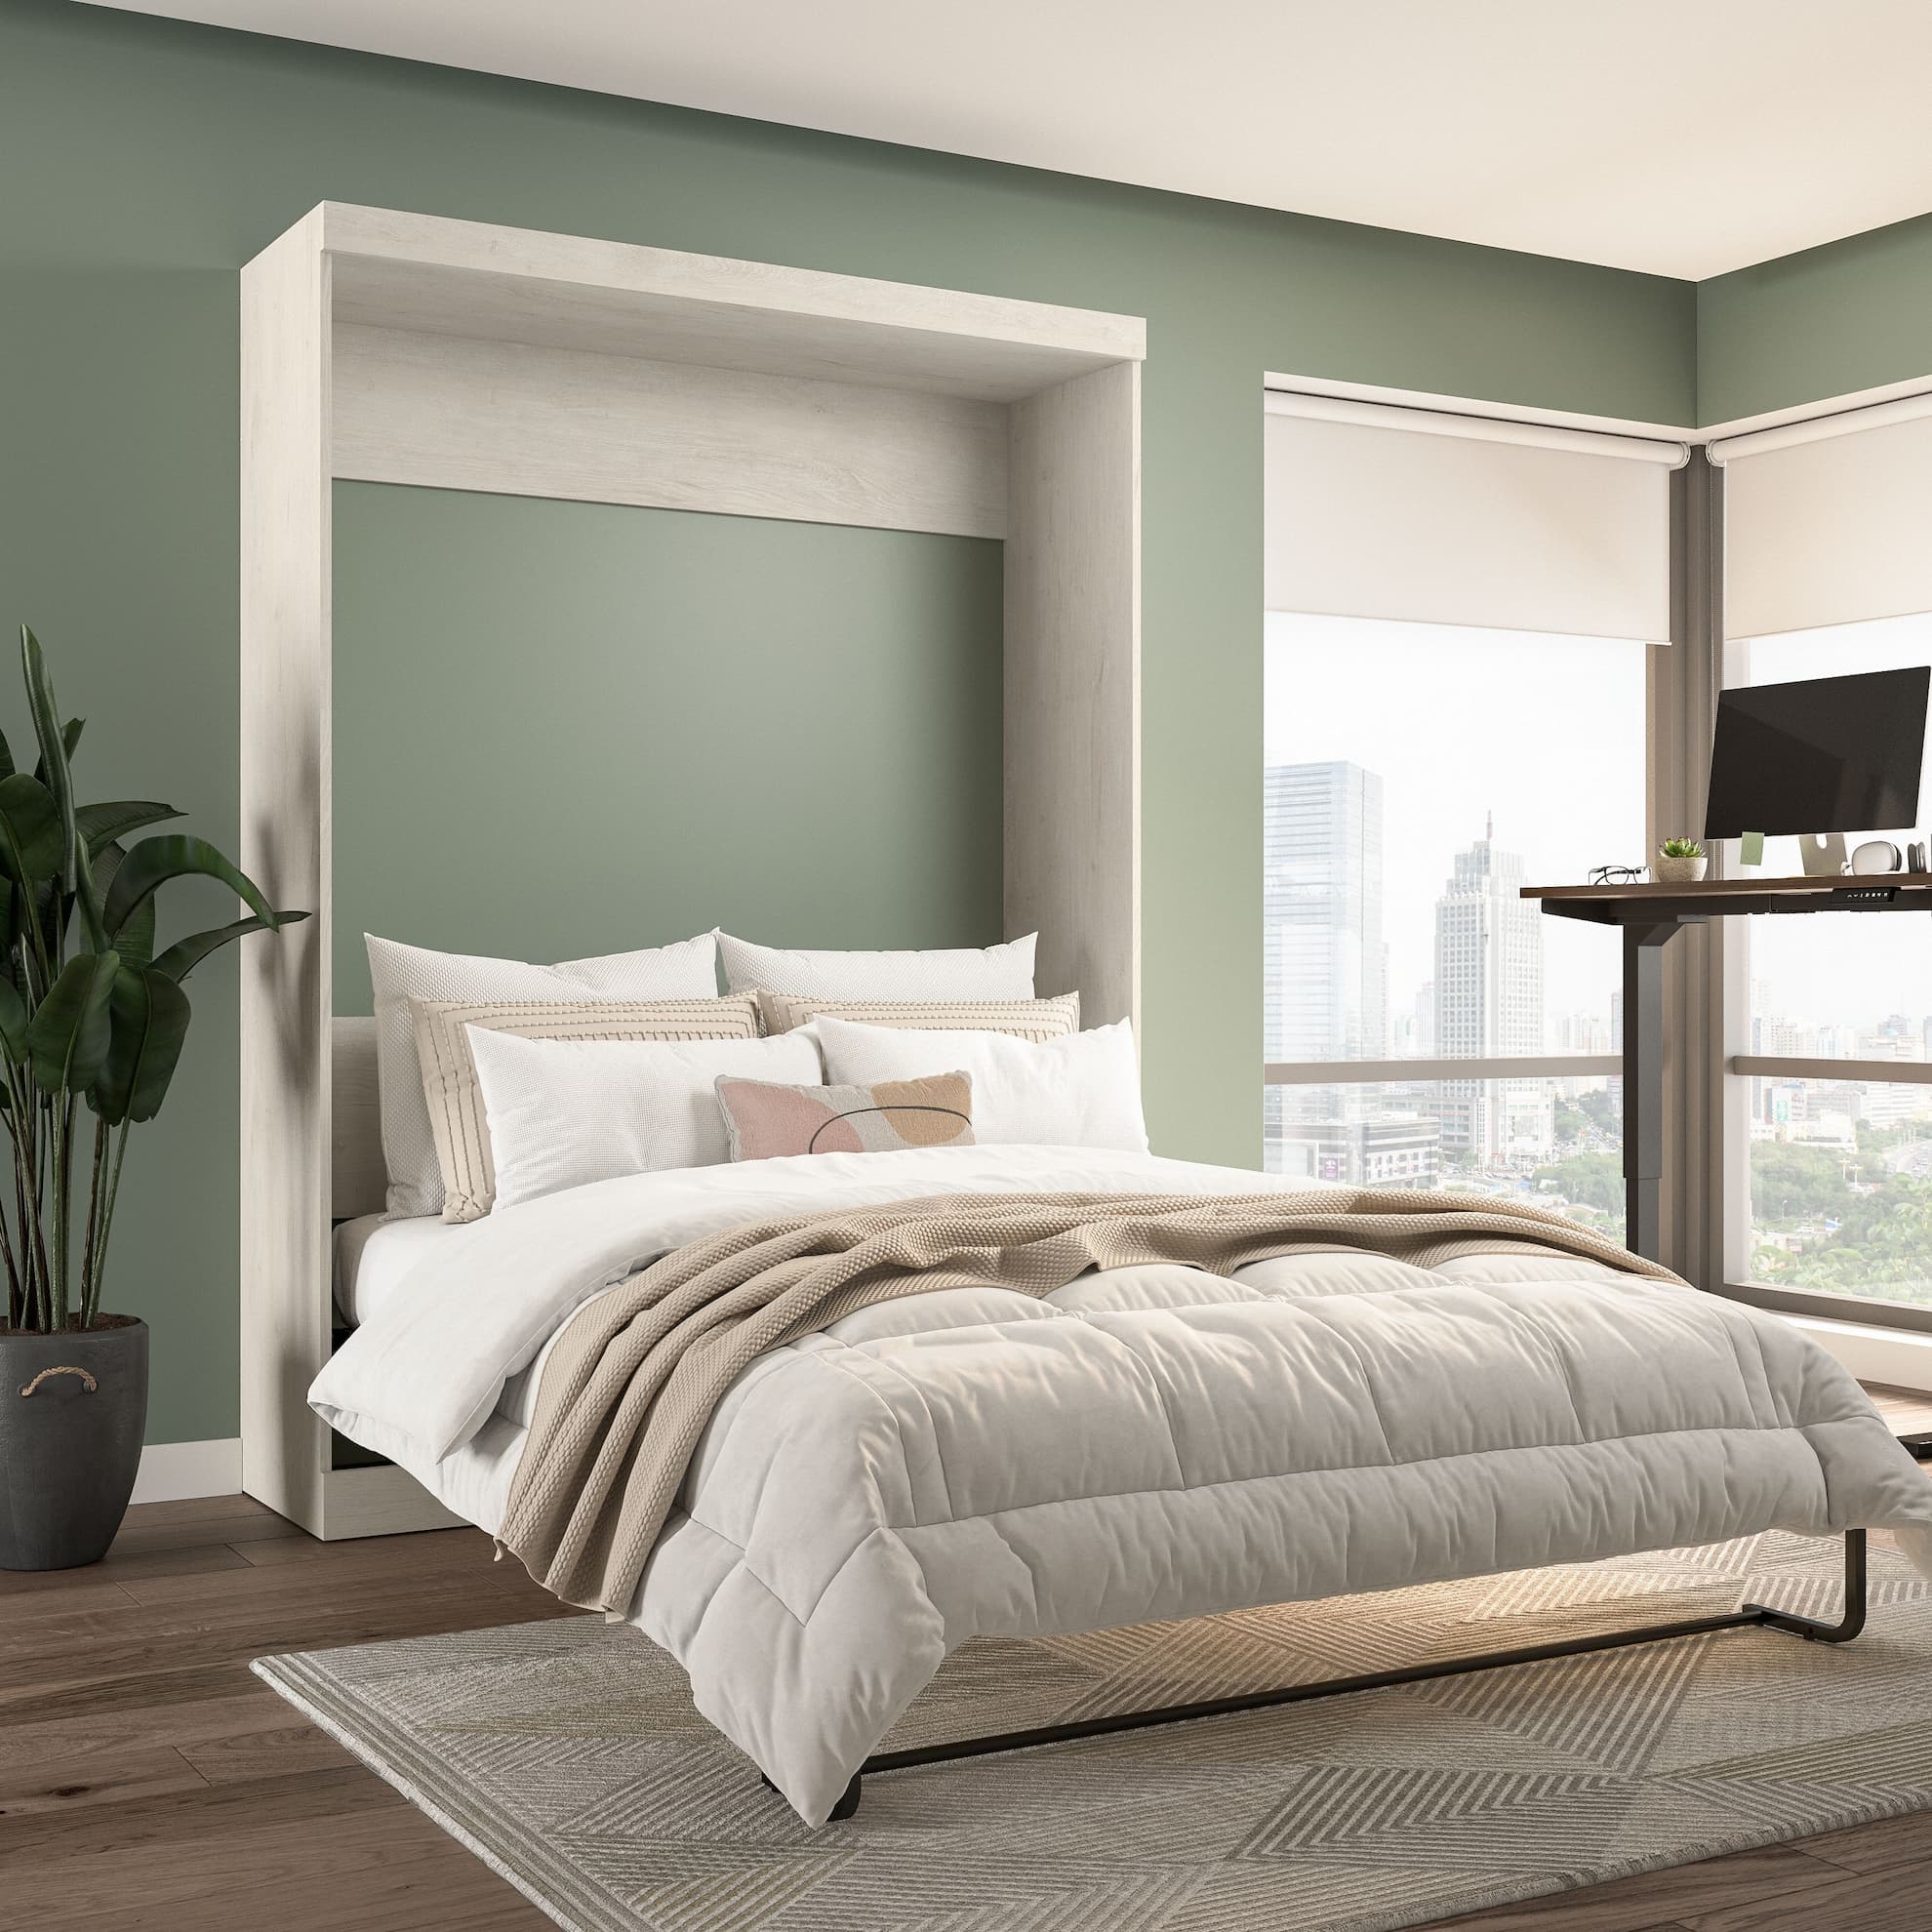
These DIY desk organizer ideas are sure to keep your desk as organized—and stylish—as possible. If you’re inspired to organize the rest of your space, check out some easy office hacks to keep your space looking its best. Saying good-bye to clutter has never been this easy—or this much fun!

Question or Comments